

Quick guide
How to create an entity
Step 1 – Create an Entity
Step 2 – Create a Signatory
Step 1 – Create an Entity
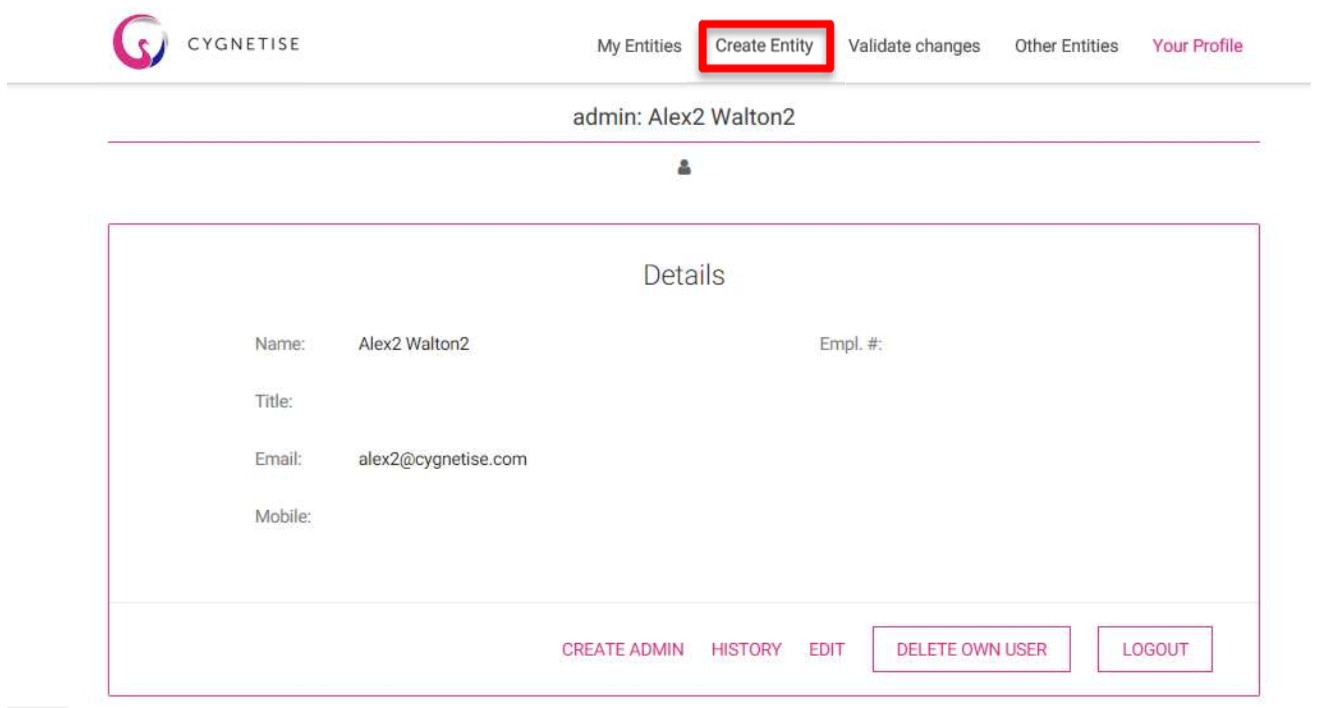
When you login you should be on the Your Profile page. Click on Create Entity in the menu bar at the top.
You will be taken to a screen to register the entity details. The only mandatory field is the Entity Name.

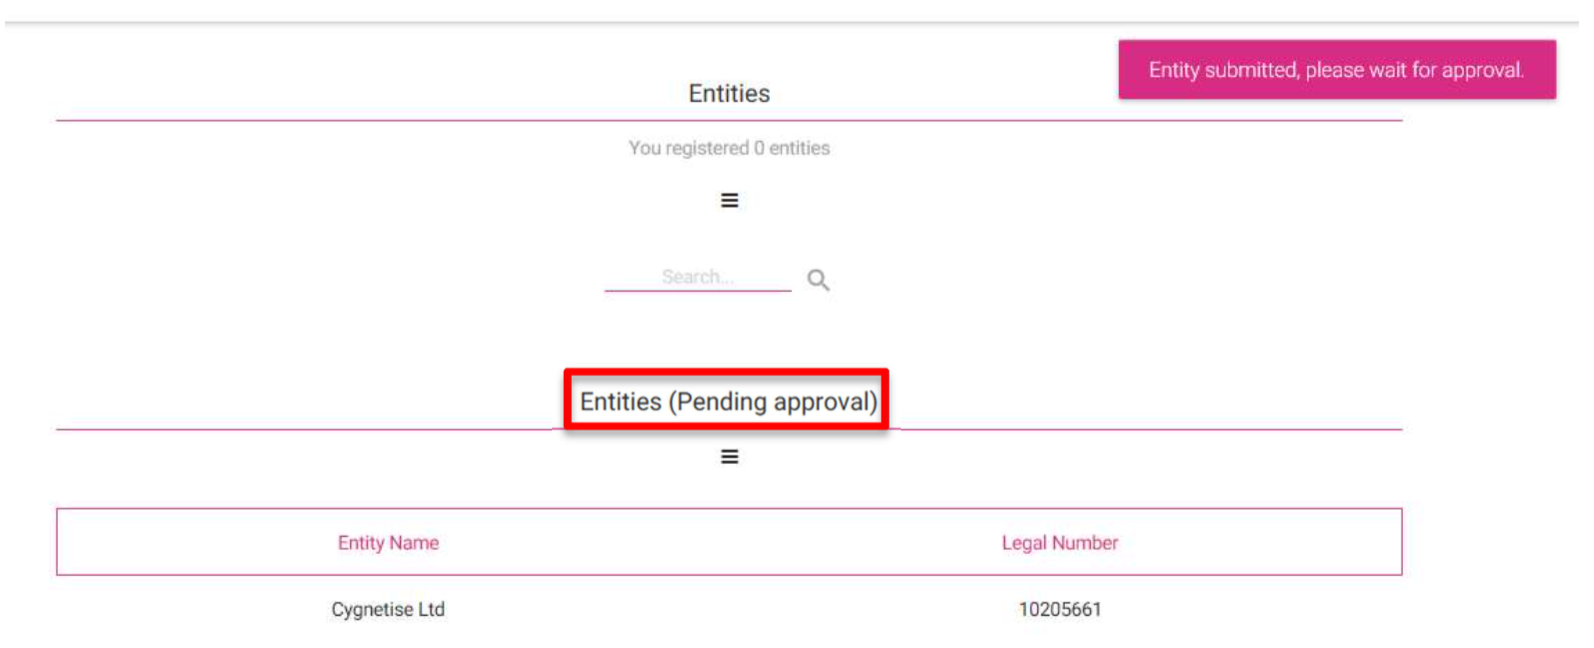
Once you have clicked Register then the entity will move into pending.
All entities created are authorised by Cygnetise. We cannot have people creating entities that they are not responsible for.
The entity created will be shown under pending approval.
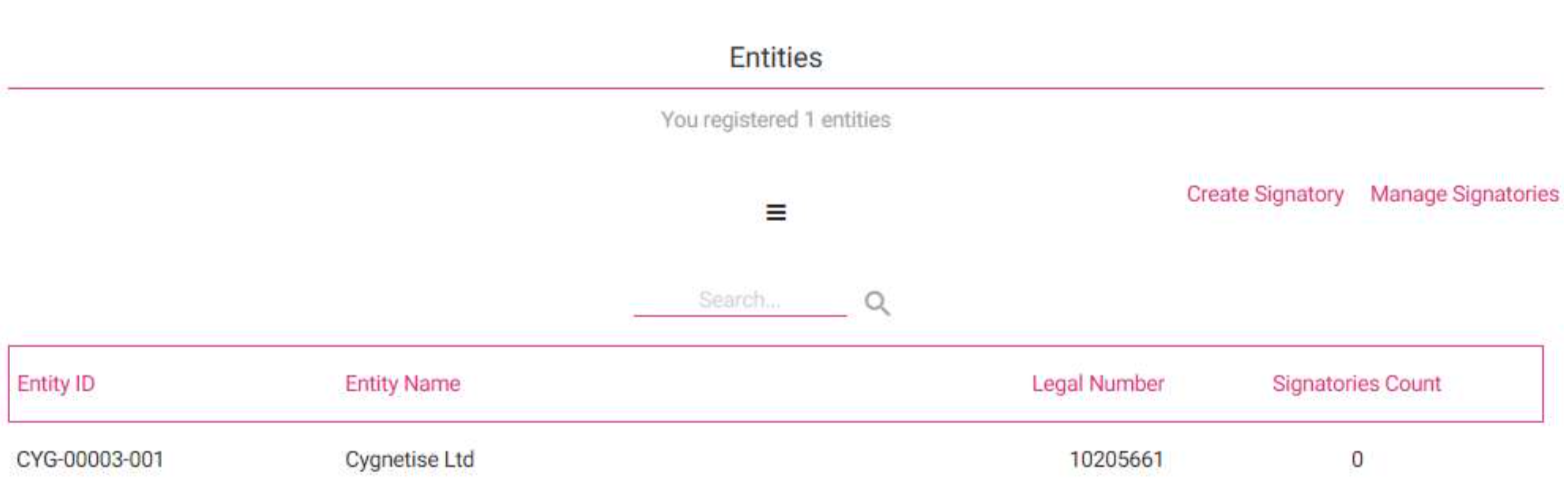
When Cygnetise has approved the entity it will move out of Pending Approval and into the Entities section.
Step 2 – Create a Signatory
Simply click on the entity you created. At the bottom it informs you that you have no signatories and invites you to add one.

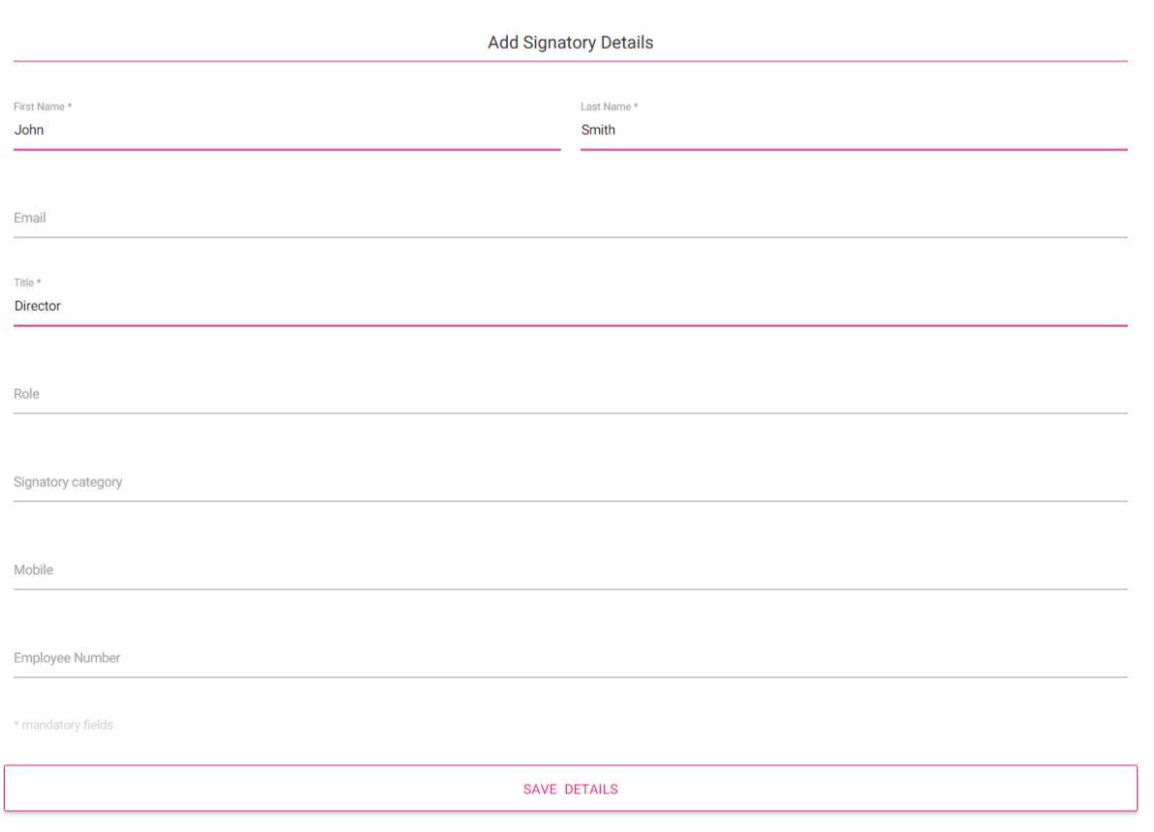
Only the fields with an asterisk are mandatory. Once you have completed it simply click Save Details.
The details have been saved. To upload their signature image simply click on upload on the right hand side under the blank signature image.

In the upload screen you click on Add Signature, then select the appropriate .jpg or .png file. Then click on upload.

When you look at the entity you can see the signatory and image has been added.
